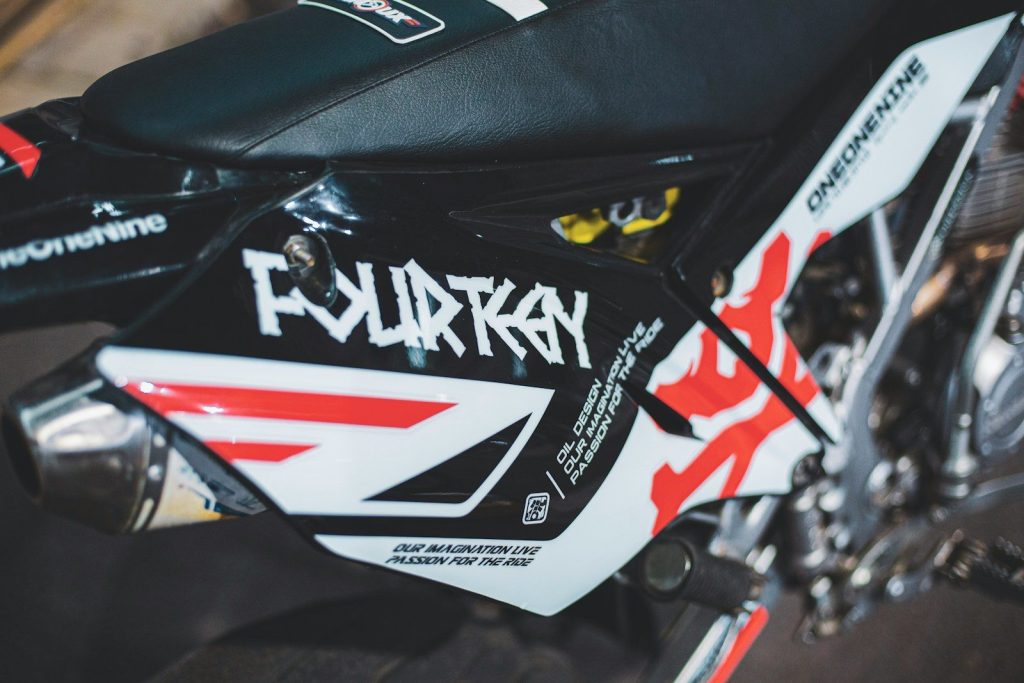
Custom graphics can completely transform the look of a dirt bike. A fresh set of graphics gives a machine a unique style while allowing riders to showcase their personality. However, achieving professional-looking results takes more than simply peeling and sticking decals in place. Careful preparation and attention to detail make all the difference.
Whether you’re personalizing your Yamaha YZ 85 or updating another off-road motorcycle, taking the time to apply graphics correctly helps create a clean finish that lasts through countless rides. A little patience during installation can produce amazing results. It can also help prevent wrinkles, bubbles, and peeling later on.
Before applying any graphics, thoroughly clean the surfaces of the bike. Dirt, grease, wax, and other substances can prevent decals from sticking properly. Using a suitable cleaner and allowing the surface to dry completely helps create the best possible bond. If you’re replacing old graphics, remove any leftover adhesive before beginning the installation process.
Once the backing is removed from decals or graphics kits, repositioning them can be difficult. Before peeling anything, hold each piece against the bike to see exactly where it belongs. You can even use tape to fix them in place and rearrange them until you get them exactly where you want them before committing.
Many installers start by lining up one edge of a piece. From there, they gradually work across the surface. Taking a few extra minutes to plan the placement helps avoid mistakes and leaves you with results that look neater and more professional.
Rushing often leads to trapped air bubbles or crooked graphics. Don’t get in a hurry. Remove a small portion of the backing at a time, and press the decal into place little by little. As you move across the surface, smooth the graphic with your hand or a soft application tool to remove air and create a secure bond.
Temperature and humidity can affect how well graphics stick. Applying them in a clean, dry area with moderate temperatures usually produces better results than working in extreme heat or cold. A controlled environment also reduces the chance of dust or debris getting trapped under the graphics during installation.
Plastics have curves and contours that require extra care. Instead of forcing graphics into place all at once, work gradually around each curve while smoothing the material as you go. Gentle pressure and patience help decals conform to the shape of the plastic without creating wrinkles.
After all the graphics have been applied, inspect them thoroughly to make sure each section is securely attached. If you notice any small air bubbles, gently work them toward the nearest edge whenever possible. Press down any loose edges to help ensure the graphics remain securely in place.
Installing graphics is about more than improving appearance. It’s an opportunity to personalize a motorcycle. It’s also a chance to develop skills that reward patience and careful workmanship.
A properly applied graphics kit not only enhances a bike’s overall look but also gives you a sense of accomplishment every time you head to the track or trail. With good preparation, steady hands, and attention to detail, anyone can achieve results that look clean, professional, and ready for the next adventure.